Founded in 2024, Doomsday Darling is a high-powered rock band hailing from Northeast Ohio’s Mahoning Valley. From Poison to Paramore, Doomsday has curated a multigenerational repertoire of pop-rock and classic rock hits–daring to play even the most challenging tunes other bands won’t tackle. The group combines the supreme musical talents of lead vocalist Samantha Hudzik, guitarist Marty Hudzik, bassist Zach Stratton, and drummer Blake Maurice, each bringing more than a decade of experience in their craft.
But it’s not just their stage presence and technical prowess that makes Doomsday Darling special; their flawless blend of classic covers and captivating original music makes them perfect for any venue. Whether you’re looking for a high-energy evening of rock and roll staples or a dynamic set of pop-rock originals, Doomsday is sure to deliver on any front. If you are looking for a band that pushes the boundaries of what live music can be, look no further than Doomsday Darling.

Niles, OH native Samantha Hudzik (Vocals) is a powerhouse singer-songwriter with a style and personality all her own. Her family jokes that she’s been singing as long as she’s been speaking; having grown up in a rock and country music-loving household, artists like Journey and Shania Twain are the soundtrack to her earliest memories. She also loves musical theatre, and credits her vocal stamina and stage presence to her theatre training. After over a decade performing in musicals, Samantha took over as lead vocalist in the popular cover band Blue Siren, which she fronted from 2022-2025. She also hopped on board with PA rock band The Side Effects, splitting her time between both groups. In three years, Samantha has entertained thousands at over 175 shows—and there’s nothing she enjoys more. At its core, Doomsday Darling was born from her love of the stage and her desire to share it with her loved ones… and she can’t wait for you to see what they’ve cooked up!

Born in Niles, Ohio, Marty Hudzik (Guitar) is a musical wizard with years of epic performances under his belt. Marty began playing in middle school after falling in love with the stylings of Journey’s Neil Schon. He was a natural–before long, he moved on to mastering Van Halen’s toughest songs. He earned the nickname “Marty Van Hudzik” from his friends, bandmates, and fans, due to his knack for effortlessly learning complex guitar parts. Marty played in many bands through the 80’s and 90’s, including Contraband, Road Crew, and Razer; he even moved to Cali for a time, gigging in iconic venues across LA. After moving home he formed the rock group SaddleTramp, playing with them for six years before leaving to start a family. Marty came out of retirement swinging in 2024, and he and Samantha founded Doomsday Darling together. Marty absolutely ignites every stage, and is proud to do so with his daughter by his side.
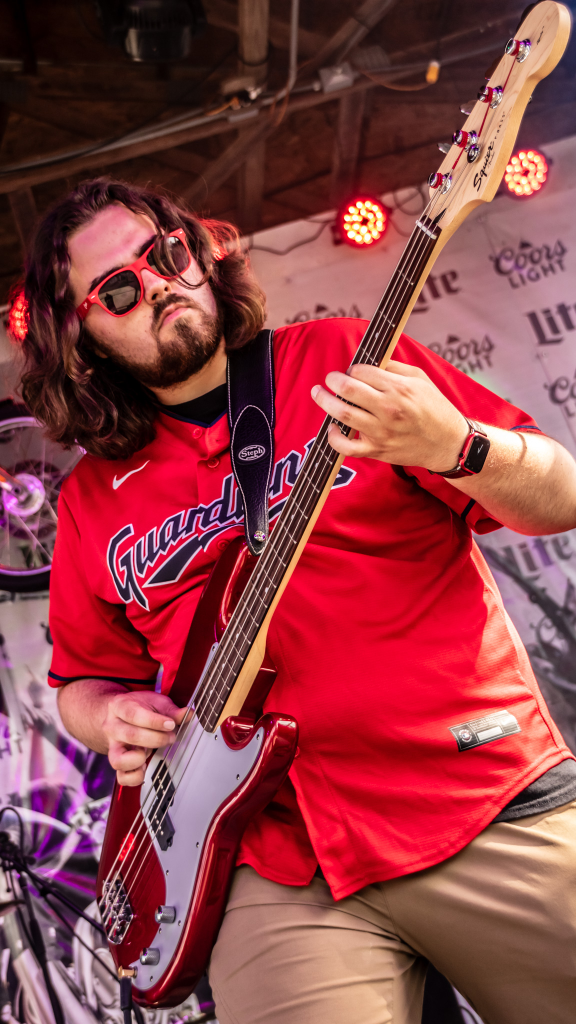
Zach Stratton (Bass) is an Akron transplant, bringing technical precision on four, six, and twelve strings to the Valley since 2024. A computer engineer by day, Zach has played guitar for thirteen years, becoming an expert acoustic artist capable of anything from Fleetwood Mac to the Eagles. But when Doomsday Darling was coming together, he jumped at the chance to master the low end. Despite being much newer at it than guitar, Zach has excelled on bass; in addition to playing with Doomsday, he was asked to fill in with Silver Springs, the popular Fleetwood Mac tribute band, in late 2025. His low-end artistry brings soul and grounding to Doomsday Darling’s wide range of music — if you can’t hear him tearing it up, you’ll certainly always feel it! In his spare time, Zach enjoys playing in an acoustic duo with Samantha, working with electronics (especially his guitar, bass, and amp gear), hanging with his friends, family, and pets, and watching the Cleveland Guardians and Pittsburgh Steelers.
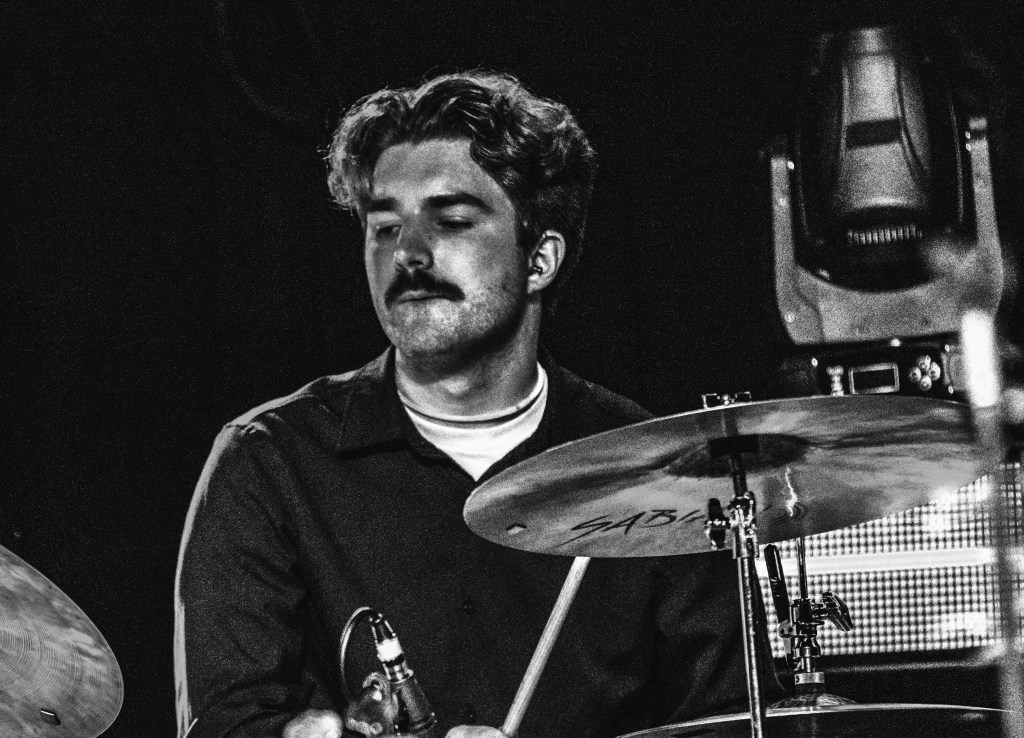
Girard, OH’s Blake Maurice (Drums) first sat behind a drum kit a few years back–but if you’ve ever heard him play, you’d think he’d been doing it his whole life. While his roots are in visual artistry, Blake eventually felt a strong pull to a different art: percussion. Blake traded in his pencils for drumsticks in 2022 and began studying at YSU’s Dana School of Music, where he still takes classes. Since then, he’s excelled in bands Lovers In Reverse and Late Night Drive; when his schedule opened up, Samantha jumped at the chance to recruit him to Doomsday. Within two weeks of joining, Blake was bringing his creativity and finesse to the band’s first original songs. Then, Doomsday got a last-minute, four-hour cover gig just three weeks into Blake’s tenure. But in typical Blake fashion, he stayed cool under pressure and learned 35 songs in four days to play the show! He is a true professional who takes pride in his art – you won’t want to miss a show with Blake on the kit.
